Plan your next Trip like a Pro with this free Travel Planning Template
Get organized for your next adventure! My free travel planning template helps you seamlessly manage flights, accommodations, and daily plans.
I love traveling. Whether it’s for work, a vacation, or simply an excuse to avoid doing laundry for a week, the thrill of discovering new places and experiences never gets old. Working at Doist has taken my travel game to new heights—sometimes quite literally (hello, jet lag). My job has introduced me to places I might never have thought to visit, and along the way, I’ve picked up some tricks for organizing seamless trips.
One person I owe a big thanks to is Chase, our company’s resident travel maestro. His planning skills are so good that they deserve their own Michelin star. Inspired by Chase’s meticulous methods, I’ve adopted a similar approach for my personal trips. The result? An organized, drama-free experience that keeps everyone in the loop (read: no one gets lost, cranky, or “hangry”).
In this article, I’ll show you exactly how I plan my trips and share the trip-planning template I use for every journey. You can grab it, tweak it, and make it your own. Let’s dive in!
My free trip-planning template
Over the years, I’ve tested dozens of note-taking apps to streamline my travel plans. Spoiler: not all of them are created equal. My gold medal goes to Craft—a beautiful, intuitive app with all the features I need to keep things organized. (Yes, as a designer, I fully admit to being swayed by Craft’s gorgeous UI. Guilty as charged.)
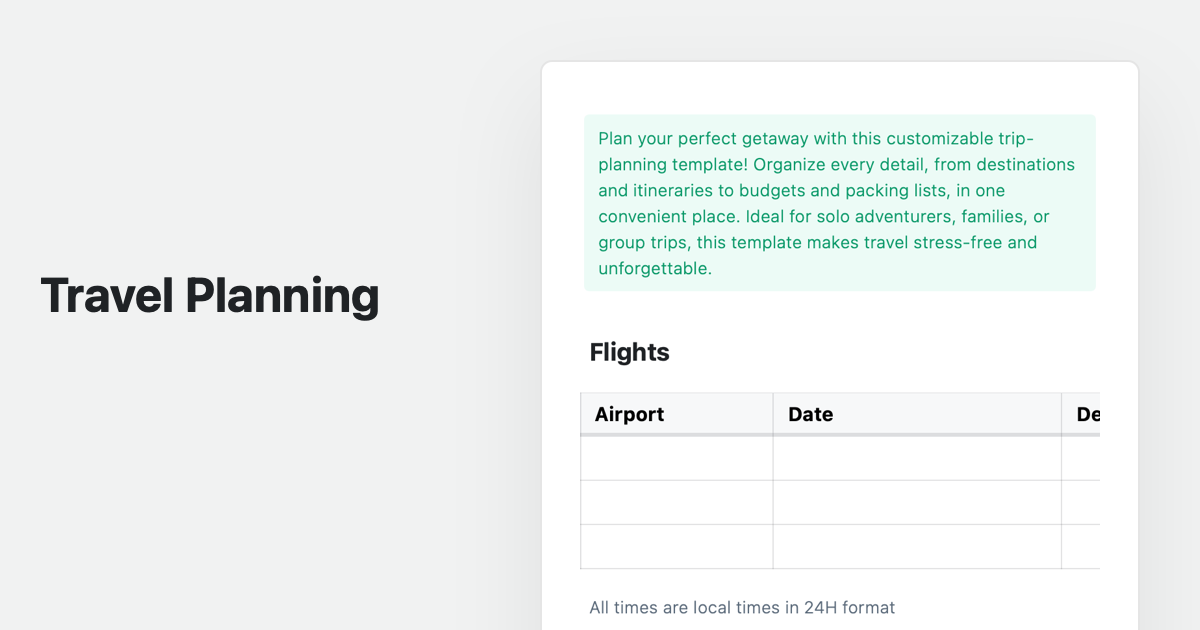
Within Craft, I created a trip planning template that’s become my holy grail for every adventure. The best part? You can duplicate this template into your own Craft account and customize it to your heart’s content. Open the template and click the three-dots icon in the top right corner to duplicate it, and voilà—it’s yours!

Gathering Points of Interest
We live in a world where almost every cool spot—be it a cozy cafe, a bustling market, or a must-see museum—has a website, Facebook page, or TikTok account. That’s often where I find inspiration for places to visit. But let’s be real: when you’re wandering the streets of a foreign city, juggling TikTok videos to figure out how to get to that trendy restaurant is not ideal.
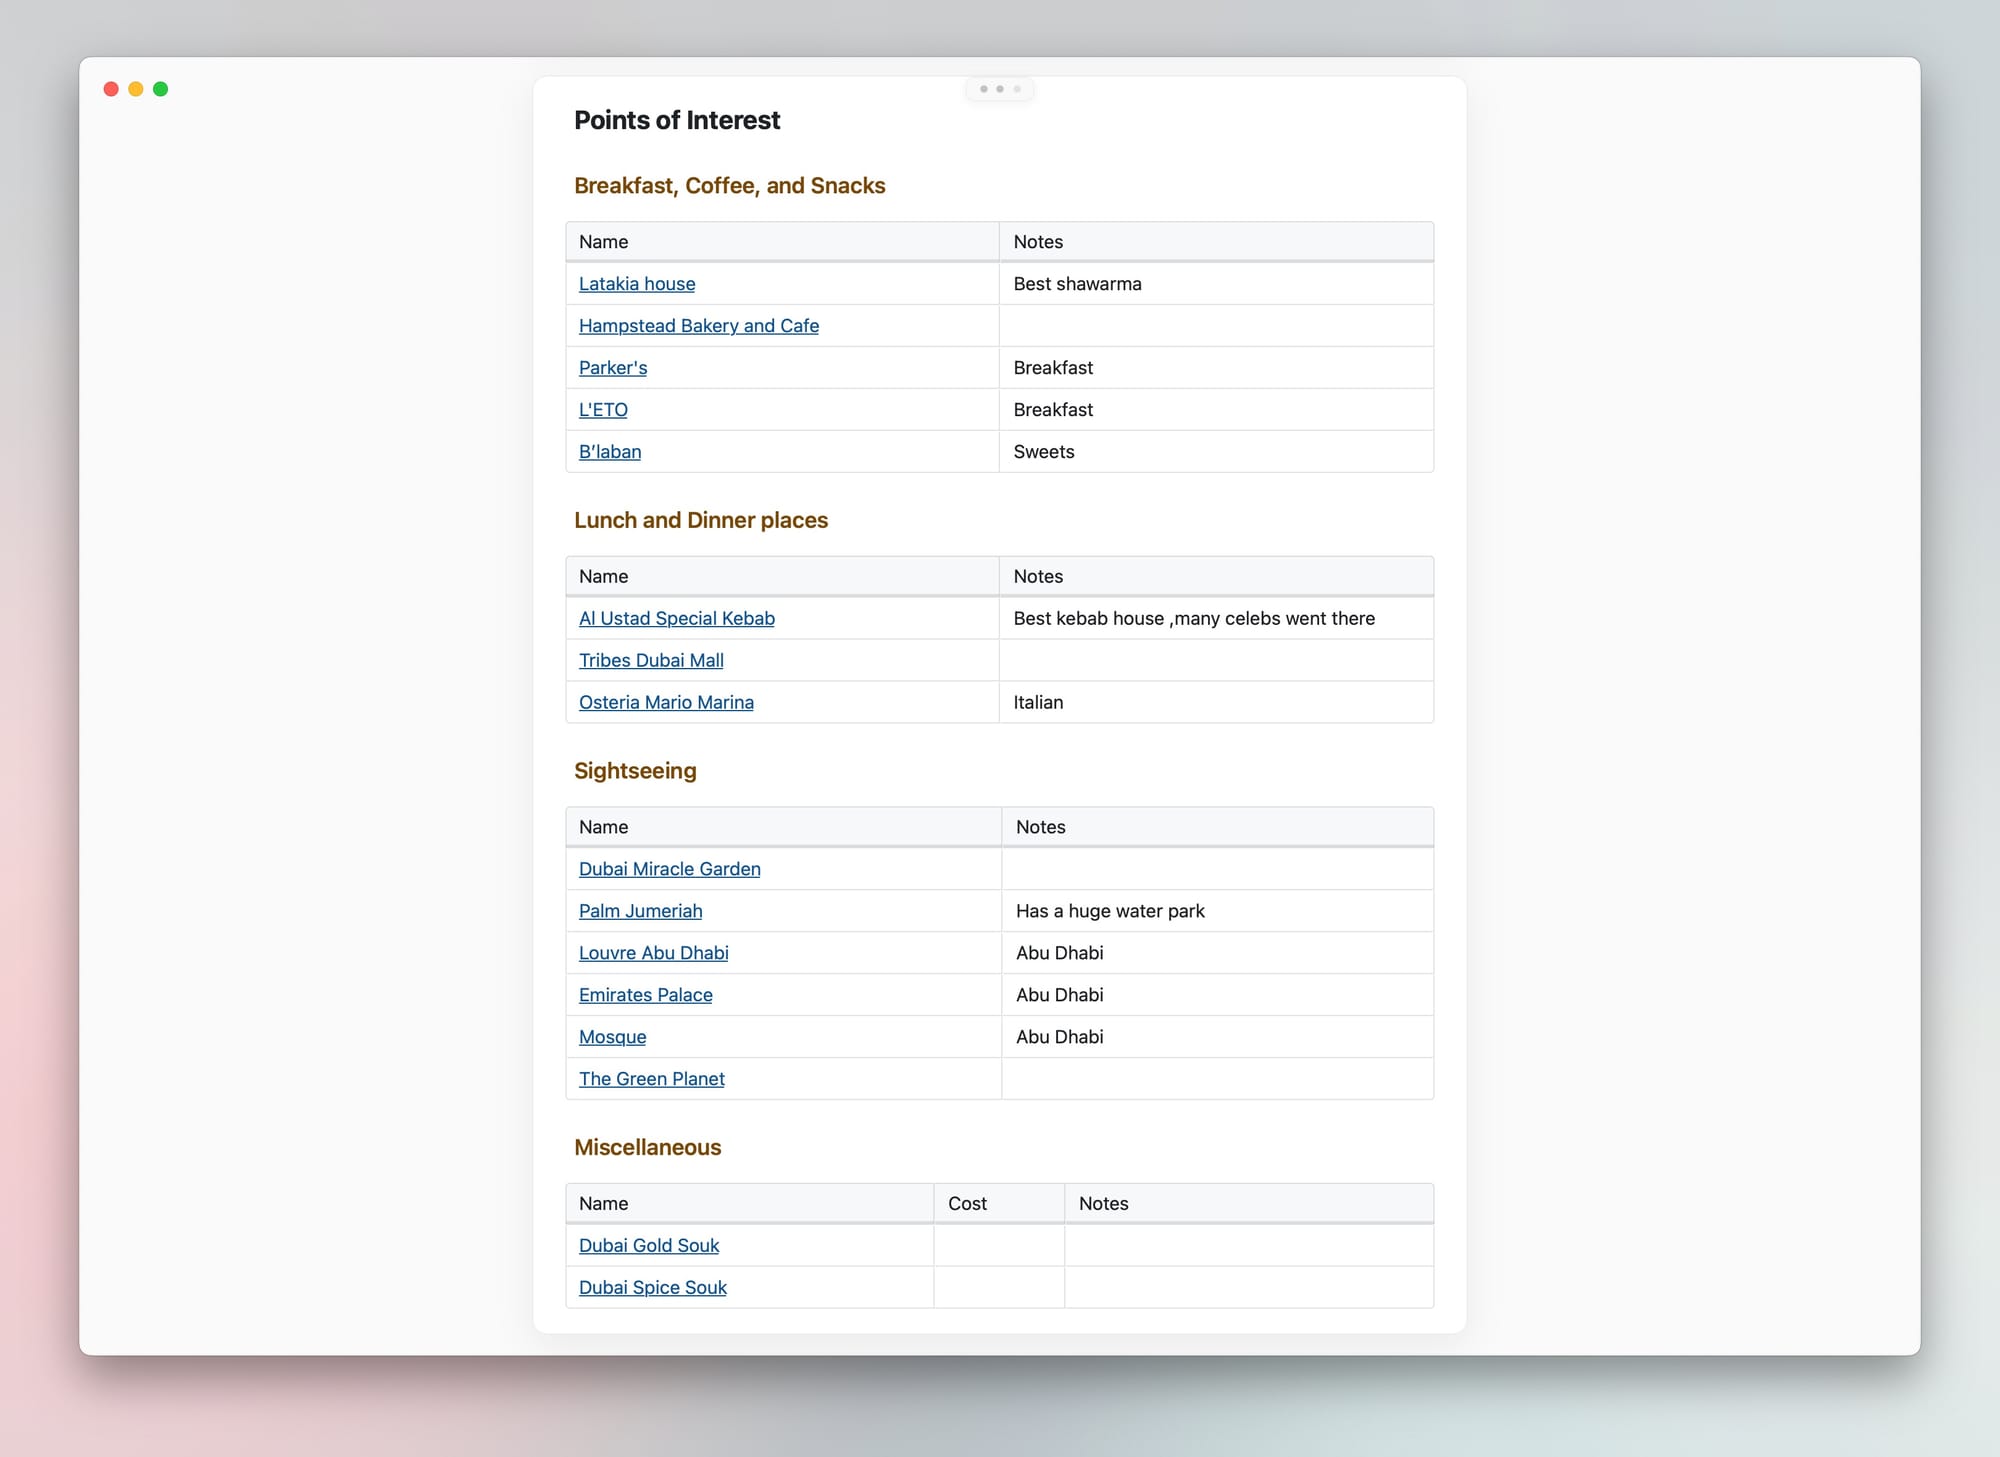
That’s why I always start my trip planning with the Points of Interest section. Before diving into the itinerary, I list everything that catches my eye and categorize it according to the template. Once I’ve built this master list, I take a closer look at each place, checking it on the map to understand its exact location. From there, I group the places I want to visit based on proximity. This helps me minimize travel time and makes the day feel more seamless.
Every entry in my Points of Interest section includes the name of the place and a clickable Google Maps link—it’s a total game-changer. When I’m out exploring, I simply open Craft on my phone, tap the location, and Google Maps launches to guide me there. No fuss, no endless scrolling. Once the grouping is complete, I move on to building the actual itinerary (more on that in the next section). This process makes trip planning smooth, efficient, and way less stressful!

How I use the template
1. Customize the basics
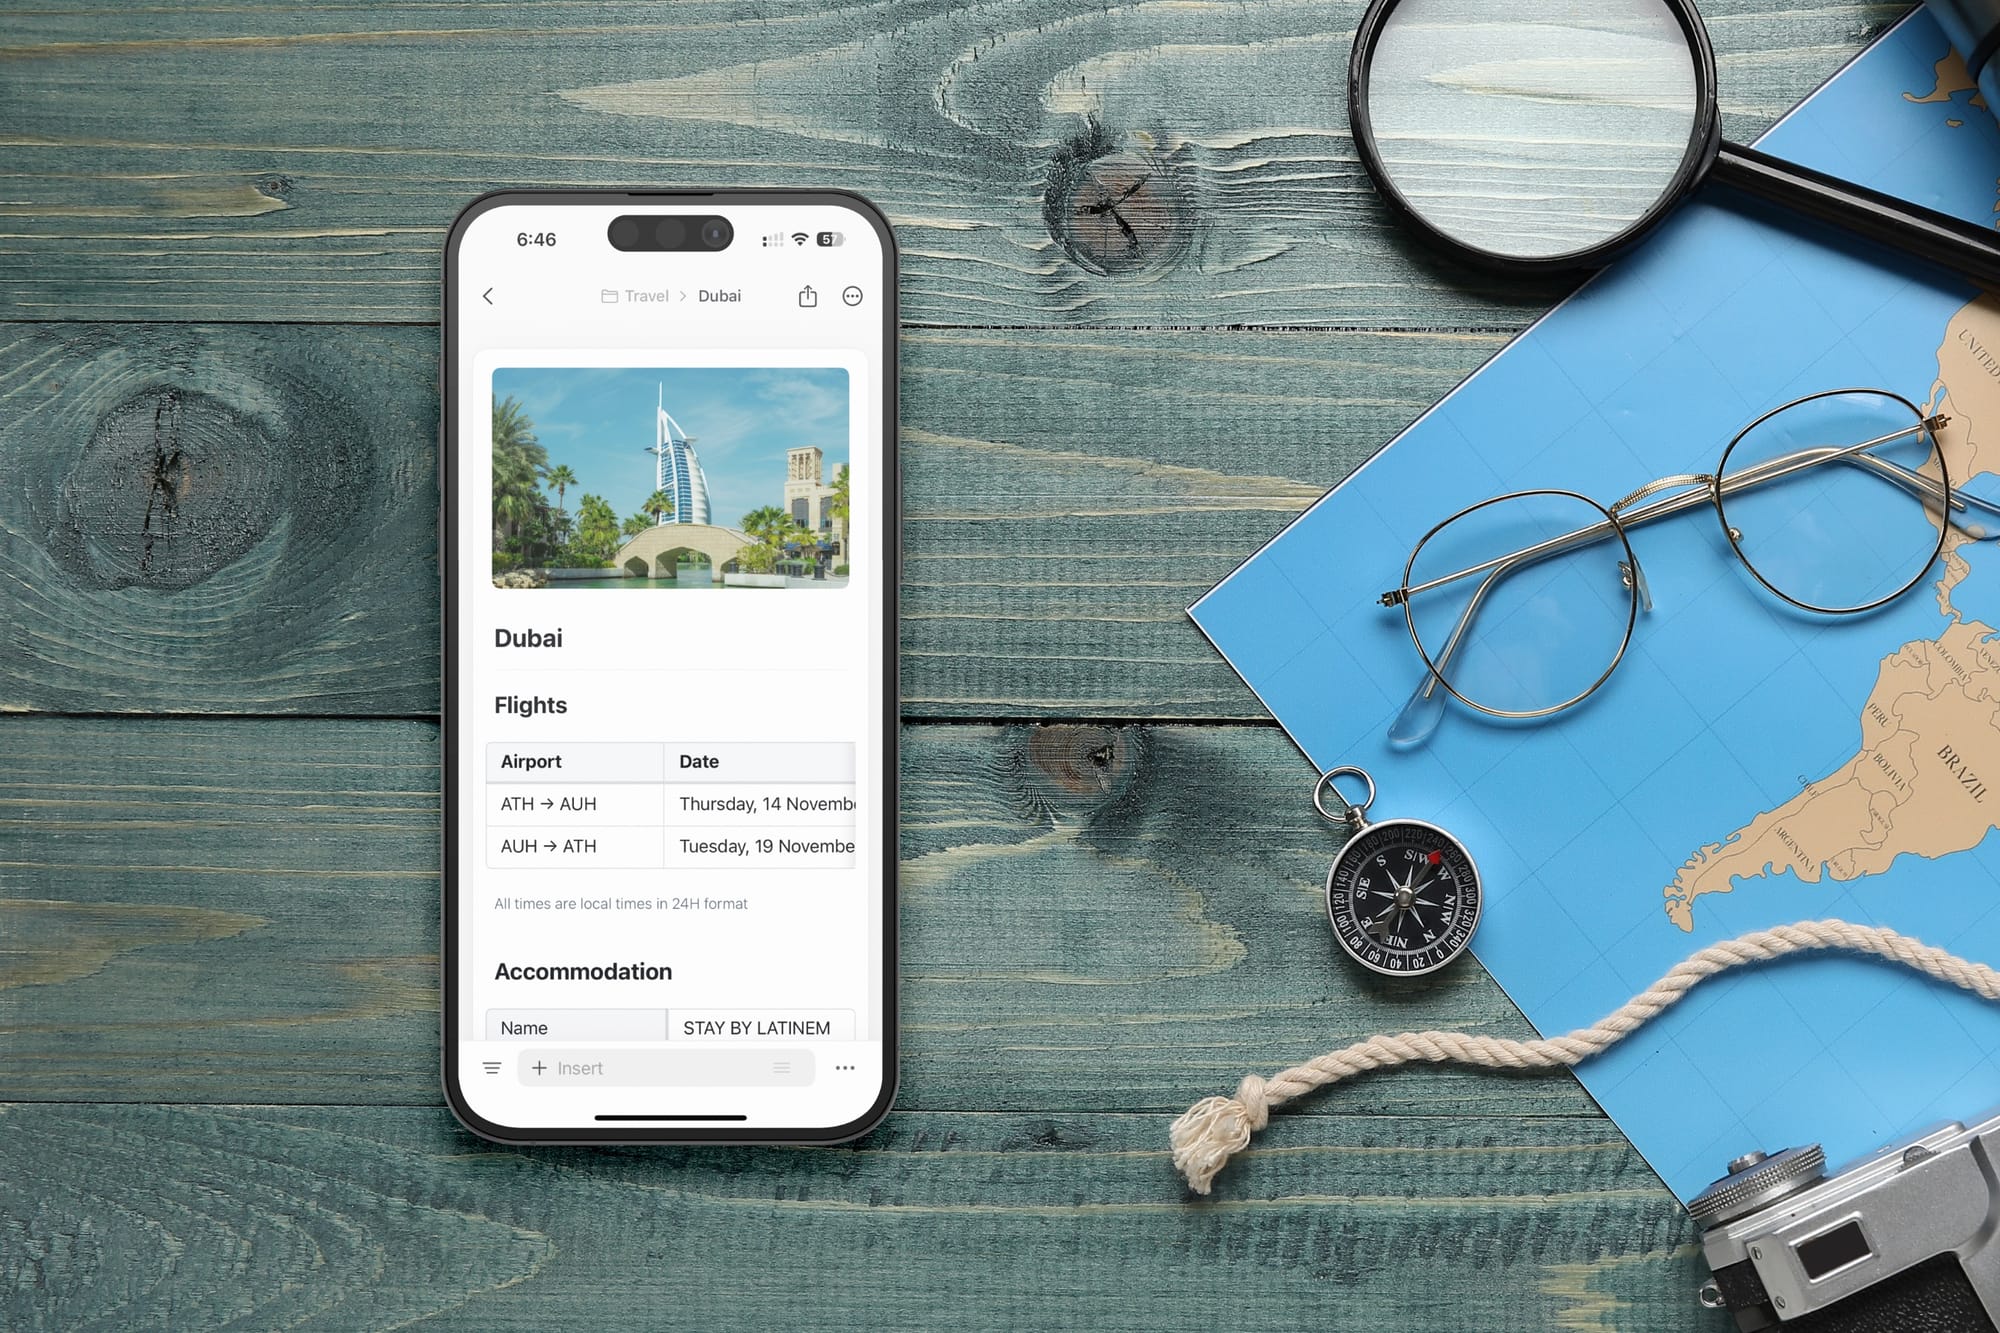
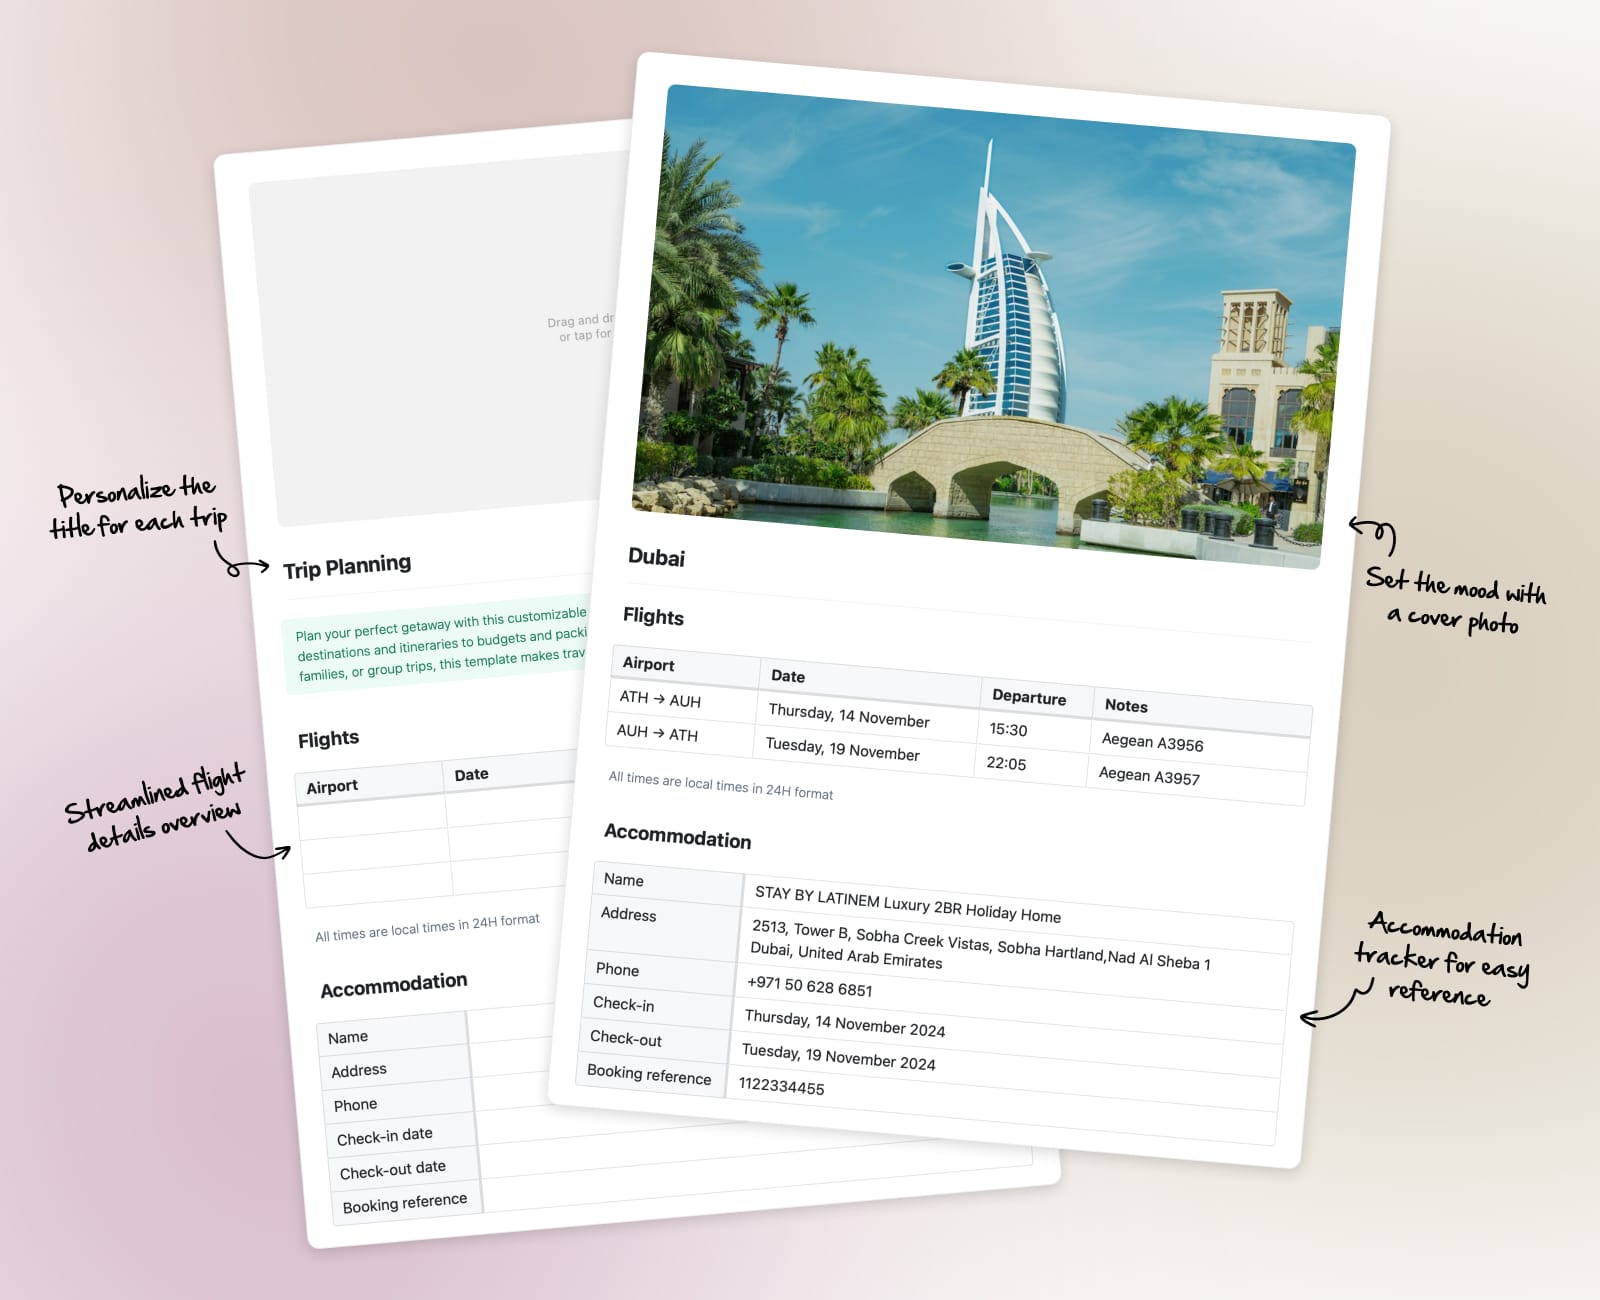
First, I rename the template to match the destination—something like “Rome 2024” or “Family Chaos in Dubai.” Then, I make it extra inspiring by adding a stunning cover photo using Craft’s Unsplash integration. Trust me, nothing gets you hyped for a trip like a photo of the Colosseum or the Burj Khalifa.
2. Flight and accommodation details
I start by filling out the flight section with all the essential details: the names of the airports (to avoid any mix-ups—goodbye, LAX vs. LGA confusion!), the exact departure and arrival dates and times, and any important notes about luggage allowances, insurance, or those peculiar airline rules you don’t want to forget.
The accommodation section gets the same thorough treatment. I include everything from check-in and check-out times to the exact address and booking confirmation numbers. This ensures that if someone in the group happens to wander off, they’ll at least have all the information they need to find their way back.
3. Build the itinerary
Here’s where the magic happens. The itinerary is structured by day, and we group activities by location to minimize unnecessary travel. Each day is broken into morning, afternoon, and evening activities to keep things manageable.
I also use each entry's "Notes" column to store essential details like opening hours, ticket prices, or reservation info. This way, I don’t have to dig through emails or websites when I need quick answers. Once we’ve finalized which spots we’re visiting, I move them to the itinerary for easy day-by-day planning. It’s simple, efficient, and keeps the “where should we go next?” debates to a minimum.

Checklists: Your secret weapon for stress-free travel
No planning template is complete without a checklist—or, in this case, two!
🧳 Packing checklist
This list covers everything I need to bring along for the trip. Sure, some of the items feel obvious (like socks and a toothbrush), but having them written down ensures I don’t forget something essential—because, let’s face it, realizing you forgot underwear halfway to the airport is not fun.
✈️ Pre-travel reminders
The second list includes all the tasks I must tackle before leaving home. This list is more opinionated and tailored to my personal habits, but the key idea is separating tasks that happen at different times. For example, confirming reservations or downloading offline maps might happen 1–2 days before the trip, while locking the doors or unplugging appliances is saved for the day I leave.
Keeping these checklists separate makes it much easier to stay organized without feeling overwhelmed. Plus, ticking off those little boxes is so satisfying—it’s like a mini-win before your adventure even begins!

Questions I get about my trip-planning process
While this is the first time I’m sharing my trip-planning process publicly, I’ve had plenty of friends peek at my itinerary notes over the years. Without fail, they’re full of questions about how I organize everything. Chances are, you’ve probably wondered about one or two of these yourself, so let me save you the trouble and answer them right here:
🗒️ Can I use this template outside Craft?
Of course! Craft supports Markdown, which is a standard used by many other popular note-taking apps. If you’d rather not use Craft, you can download the Markdown version of this template and import it into the app of your choice. Just make sure the app supports Markdown to preserve the structure—otherwise, you might lose some of the magic I’ve worked into the template.
🖨️ Do you print the itinerary?
You can, but I don’t. Everything stays digital because it’s easier to update on the fly. Plus, most people I share itineraries with also use Craft. If you prefer paper, go ahead and print it—just make sure to bring a pen for last-minute edits.
📱 Why not use a dedicated travel app?
That's an excellent question! While travel apps can be amazing, I prefer to stick to one app for everything—especially one that I already use every day. Craft helps me keep all my notes and plans organized in one spot, saving me from switching between multiple apps. Plus, I’d rather avoid the expense of onboarding everyone onto a separate app. With Craft, even if they haven't used it before, I can easily share a PDF export with them, and we’re all set!
Ready to hit the road?
Unlike rigid business trip itineraries, this template is designed to be flexible. Think of it as a helpful guide rather than a strict schedule. Plans can (and often do) change, but having a solid starting point makes the whole experience less stressful and way more fun.
Feel free to download my template, adapt it to your needs, and share your feedback in the comments below. Did it save your sanity? Did you add something brilliant that I should steal—er, adopt? Let me know! Safe travels! 🚀
